Machine tool performance - part 3
Different types of errors in machine tools can cause deviations leading to inaccuracies in dimensions and shape of the final part. One way to keep track of and to control the performance of machine tools is to continuously measure and quantify the ability of the physical attributes of the tool. In this third blog on machine tool performance we look into different ways to measure and evaluate these errors.
A machine tool is a very complex system with hundreds of mechanical and electronic components which interact and function together during the machining process to make parts. We have seen the types of errors in the machine tool that can cause deviations leading to inaccuracies in dimensions and shape of the final part.
The importance of machine tool accuracy analysis and performance evaluation becomes ever more important when considering the very high precision requirements in machining and micromachining applications. Further, to uphold the performance and functions of the machine tool, proper maintenance activities need to be planned and executed. Though errors are sometime unavoidable, they can be kept under control so that necessary corrections or compensations can be made. One way to keep track of and to control the performance is to continuously measure and quantify the ability of the physical attributes of the machine tool.
Let us look into some of the ways where these errors can be measured and evaluated.
There are two main ways of error measurement and evaluation: direct and indirect methods.
Direct methods
Direct measurements are the ones done with a specialised measurement device, usually to measure geometric errors from linear and rotating axes.
Laser tracer
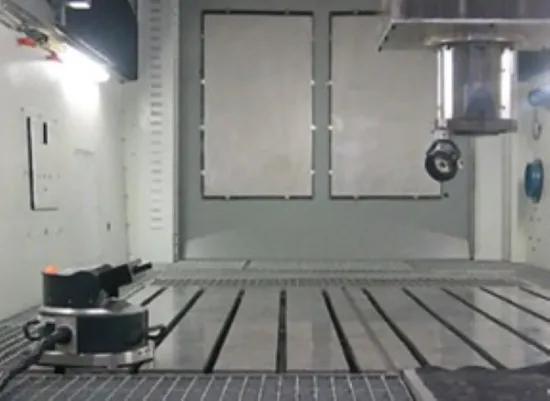
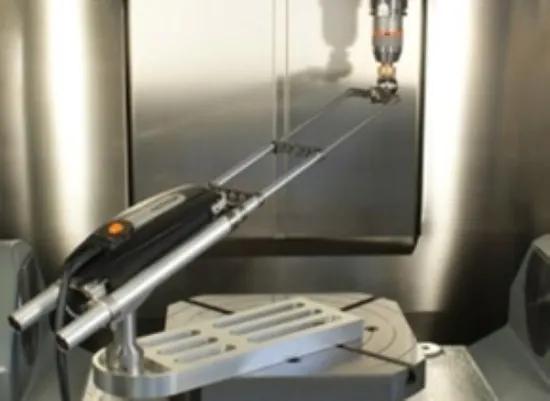
This system uses a self-tracking laser interferometer and a reflector. The laser beam of the laser interferometer follows the reflector during the measurement. There is a setup for larger machines (figure 1, on the left) as well as for small and medium-sized machines (axes up to 1.5 m) (figure 1, on the right). Both the NC axes of three-axis and five-axis machines can be checked.
Fig. 1a: Laser tracer (Standard); Fig. 1b: Laser tracer-MT (Standard)
Ball bar
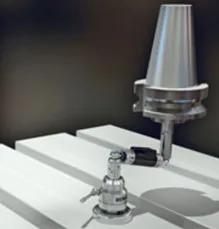
The ball bar system uses a magnetic tripod on the machine table and a magnetic holder in the tool spindle. The sensor, which is fitted with a ball on both sides, is mounted between the two holder sections. The sensor lengthens or shortens during the execution of the circular tool path. The system is useful for controlling the linear axes of both three-axis and five-axis machines.
Fig. 2
R-test
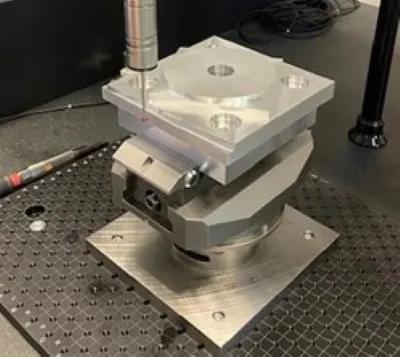
The R-test is used for the control of five-axis machines. The system consists of a ceramic ball, mounted on the machine element with the rotational axes and a probe or sensor on the machine component without rotational axes.
During the measurement, the 5 NC axes move simultaneously, both continuously and intermittently.
Indirect methods
Indirect method includes machining of a standard workpiece and measuring the dimensions and accuracy on the machined part. Machining of test parts can be the most representative method for machine performance evaluation, since it will capture an operational view of the machine under test including the effects due to machining forces. The standard includes tests for evaluating machining performance, positioning and contouring accuracy associated with the geometric properties of interpolating one or two axes or the simultaneous five-axis interpolation of machining centres (Fig below: Standard test parts). These tests have carefully designed procedures that allows to measure the precision of your machine tool. These tests can be further used as tools for periodical check of the precision and accuracy of your machine tool and take necessary actions to either remove the errors or correct them with suitable tables in your machine controller. This will make sure you have parts that always pass the quality checks in your production.
Figure 3
Would you like to learn more about machine tool error evaluation and find tools to implement it in your shopfloor? You can attend our forthcoming workshop on 16 November 2023, where you can learn hands on about practical tools based on physical models developed to help you choose optimum conditions for your machining processes.
You can find more information about the workshop and register in the following link: Stainless-steel machining | Sirris.
For any further questions please do not hesitate to contact us.

