Measuring is knowing, also when it comes to adding functionalities to surfaces by means of texturing. If you want to get an idea about surface performance, Sirris’ functionality development relies on a number of, sometimes customised, measurement methods, which are verified in turn. In this article, we briefly tell you what you can expect from us in terms of surface functionality demos or measurements.
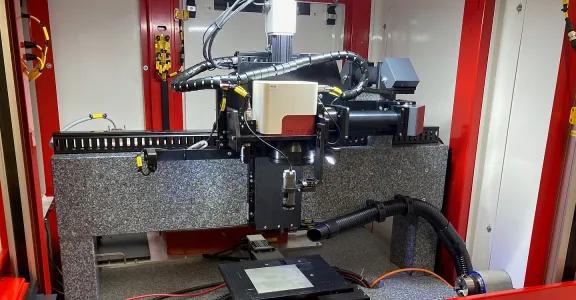
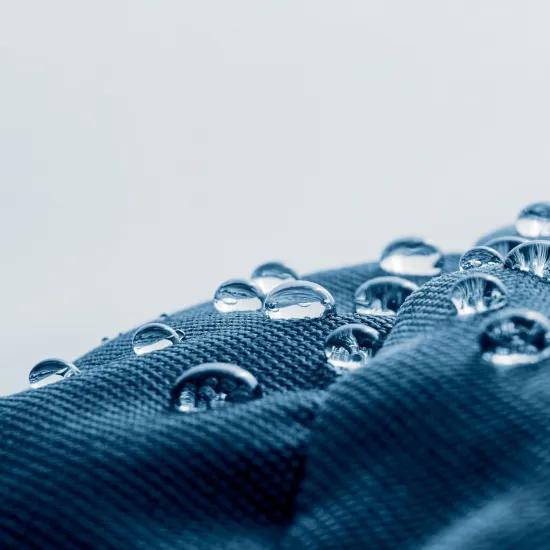
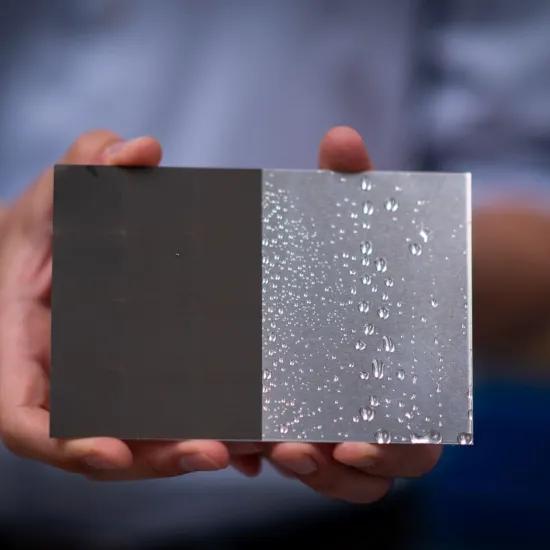
Sirris has been working on the development of laser textures to give surfaces and applications extra functionality and therefore value for several years now. To this end, we use a state-of-the-art femtosecond laser, for instance. A new ultra-black texture was recently developed, in addition to a texture with low friction functionality or superhydrophobic surfaces.
This functionality development is supported by a range of measurement methods, such as confocal microscopy, contact angle measurements, spectrometry or a tribometer. These methods often give good indications of a surface's performance. However, they also often fall short. A tribometer, for example, may be able to determine a coefficient of friction, but translating it to an application is still difficult. Or a generic measurement with a scientific device is either impractical or very expensive, for example when it comes to measuring the emissivity of a surface. These limitations sometimes make it difficult to develop new functionalities.
Customised demos and measurements
To solve this, Sirris often builds and designs its own demonstration and measurement setups. In this design process, careful attention is paid to the quality of measurement and relevance with regard to the application envisaged by the customer. More than once, we have been able to make the measurement simple and cheaper than with expensive scientific measuring instruments, without too great a loss of accuracy. A few recent examples:
- A measurement setup for determining the emissivity of black surfaces in a vacuum,
- A bearing seat with a stepper motor to determine the friction of a shaft,
- A demonstration lamp to demonstrate textured lenses combined with 3D printed thermal elements.
Verification
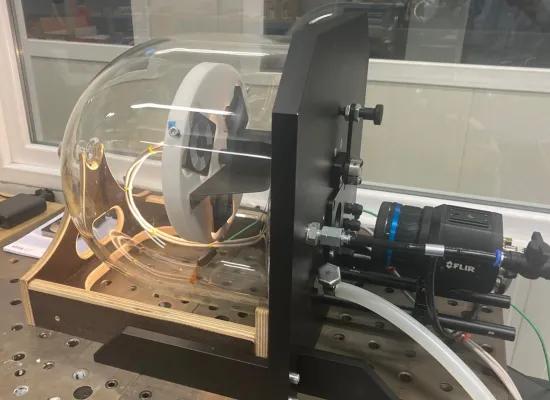
We also have these demonstration and measurement setups verified, to check how accurate they are. The best example of this is the vacuum clock with IR camera to measure emissivity: this setup consists of a FLIR infrared camera, a vacuum pump to bring the air pressure in the clock to 10 mbar, a germanium glass plate through which the camera can see, a Teflon wheel on which to apply the samples, together with LED lights that act as a heat source for the samples (Figure 1).
The measurement results of this setup were compared with those of an aerospace spectrometer: our setup proved accurate in absolute terms to less than a 0.1 per cent, almost as good in relative terms, and at a fraction of the cost (see Figure 2).
At Sirris, we always want to provide our customers with a solution to their problem; developing demonstration and measurement setups that serve this purpose is part of our duties. Would you like more information on this? Make sure to contact us!
This blog post was published as part of the COOCK-project SURFACESCRIPT
