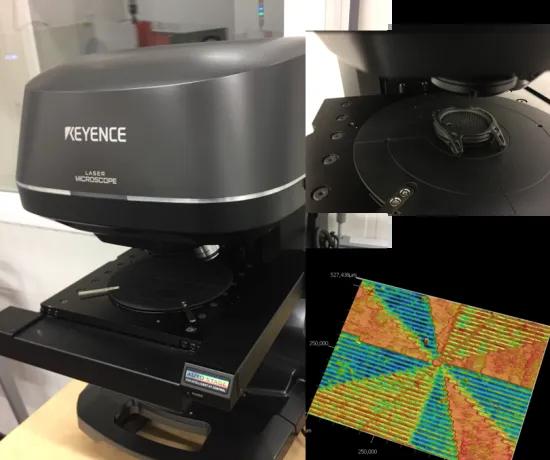
Measuring is crucial, not only in development stage but also in serial production. It’s the only way to maintain quality standards and guarantee component functionality. Therefore, we’ve invested in a VK-X1100 ultra violet confocal laser scanning microscope.
It’s nice to have state-of-the-art machining equipment, such as the femtosecond laser texturing centre to create novel surface functionalities. However, you also have to measure your creations and evaluate their quality, in order to define the relationship between texture and functionality. Measurement capability is therefore crucial, not only in development stage, but also in serial production so you can maintain quality standards and guarantee component functionality.
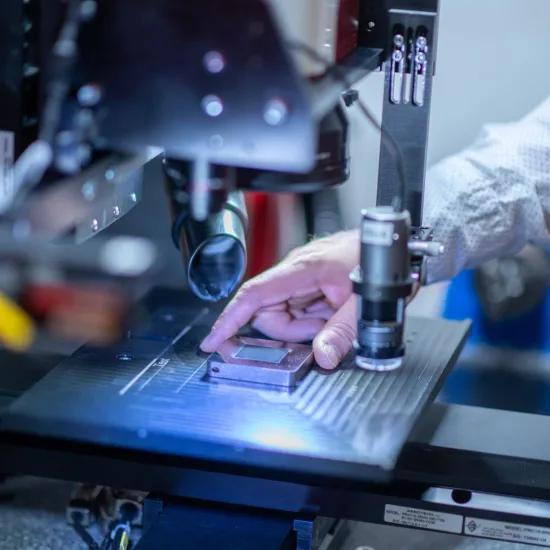
Therefore, we have invested in a VK-X1100 ultra violet confocal laser scanning microscope from Keyence. This new microscope allows us to measure small features (it has a resolution of 0.5 nanometre in Z) and it is equipped with a motorised stage and a stitching module, which also allows us to capture large surfaces in high detail. This combination is key when you are evaluating the quality of micro surface textures on macro-mechanical components. The microscope will become part of the quality assurance of our new manufacturing system.
Welcome to the team!
This article is part of our ‘4.0 made real by Sirris’ campaign, illustrating the feasibility of 4.0 technology in industry.


