Sirris has acquired a new portable X-ray diffraction stress measurement system. The system is unique in Belgium and provides a very powerful tool to measure the quality of all types of parts (cast, forged, machined, etc.) and processes (such as welding, 3D printing, shot peening or heat treatment). Its ability to characterise local stress is key to improve processing conditions.
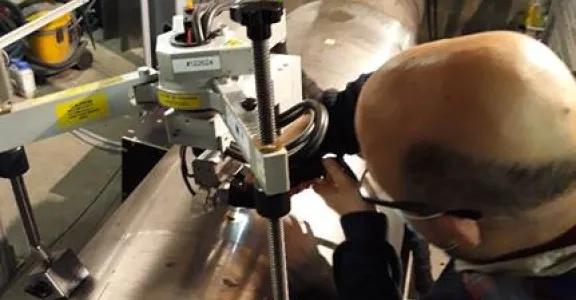
The new X-ray diffraction system aims at measuring internal stresses in metal parts. By means of selected material removal, it is possible to measure stress depth profiles. The main advantage is the portability of the system, which allows on-site measurement of parts of any size (provided that the area of interest is accessible to the system). The StressTech G2R system that is now available at Sirris, is unique in Belgium. Its flexibility allows us to investigate in a non-destructive way residual stresses on real parts, not just on test coupons or pieces cut from larger parts. In one full day, approximately 40 surface measurements can be done on a steel part, or 3-4 depth profiles (depending on the conditions of measurement and the part itself).
In additive manufacturing (3D printing), residual stresses are introduced as a result of the rapid cooling of metal. These stresses are sensitive to process parameters, design of the part, metallurgical effects, etc. In cast or forged metal parts, significant residual stresses can also be present, resulting in unwanted deformation or even cracking during machining, heat treatment or even during use. Residual stresses are also induced by treatments such as machining, grinding, shot peening and heat treatments. In the case of for example shot peening of gears, stresses are intentionally introduced in the part and it is often necessary to measure them in order to ensure the quality of the gear.
Case study: residual stress measurement on a mill
Steel mills are large and very heavy, making it difficult to move them to another facility for testing. The presence of residual stresses after machining was assumed to be responsible for observed cracks. In order to have objective information to make decisions on process optimisation, Sirris performed residual stress measurements on location. By measuring the stress on multiple locations along the length of the roll and measuring two depth profiles up to a depth of 1 mm, important new insights on the machining process were obtained, leading to new ideas for process improvement that could quickly be implemented. All this was possible thanks to a single day of on-site measurements.
Case study: residual stress measurement on gears
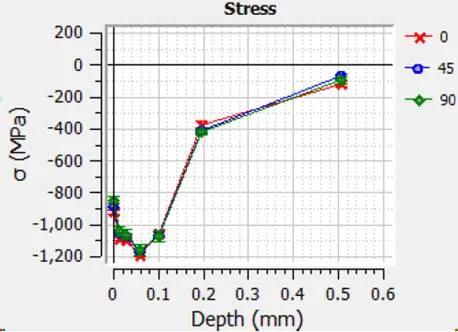
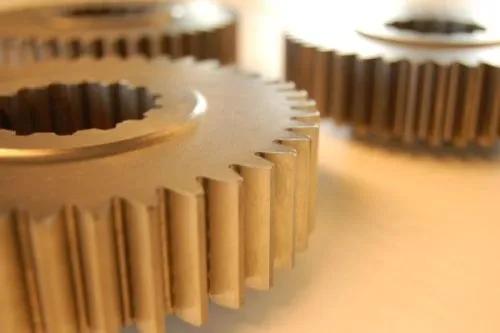
Measurements don’t always need to be performed on-site in order to reveal the advantages of this residual stress measurement device. Its flexibility makes it possible to measure stresses on larger samples and more complex shapes than with typical laboratory goniometers. An example is the measurement of stresses on gears with different surface conditions (ground, shot peened, heat treated, etc.). In order to improve the fatigue resistance, compressive residual stresses are desired. In the case of shot peening, a maximum compressive residual stress has to be realised at a depth of approximately 50 µm below the surface. By performing a depth profile measurement, the quality of shot-peened gears could be determined and non-conforming parts be identified.
This unique residual stress measurement device is a very powerful tool for quality control, allowing Sirris to extend its service to the Belgian industry to improve product manufacturing with AM, casting, machining, welding and many other techniques, including post-processing. Finally, it also provides important insights for the further development of AM modelling.
Interested? Don’t hesitate to contact us!
The equipment has been acquired within the framework of the FEDER IAWATHA project subsidised by the European Union and Wallonia.


