Combined method achieves accuracies above 95 percent
In a recently completed research project on cutting tool wear we investigated how the combined use of sensors and cameras can determine the best time to change a milling tool. AI algorithms were developed on the basis of sensor data and high-quality photos of the cutting edges, giving very accurate results.
In 2021, the ICON-AI project ATWI (joint research between industry and research partners) on cutting tool wear was launched with the support of Flanders Innovation & Entrepreneurship (VLAIO). Since then, the project has made good progress in predicting and automatically determining the wear of milling tools.
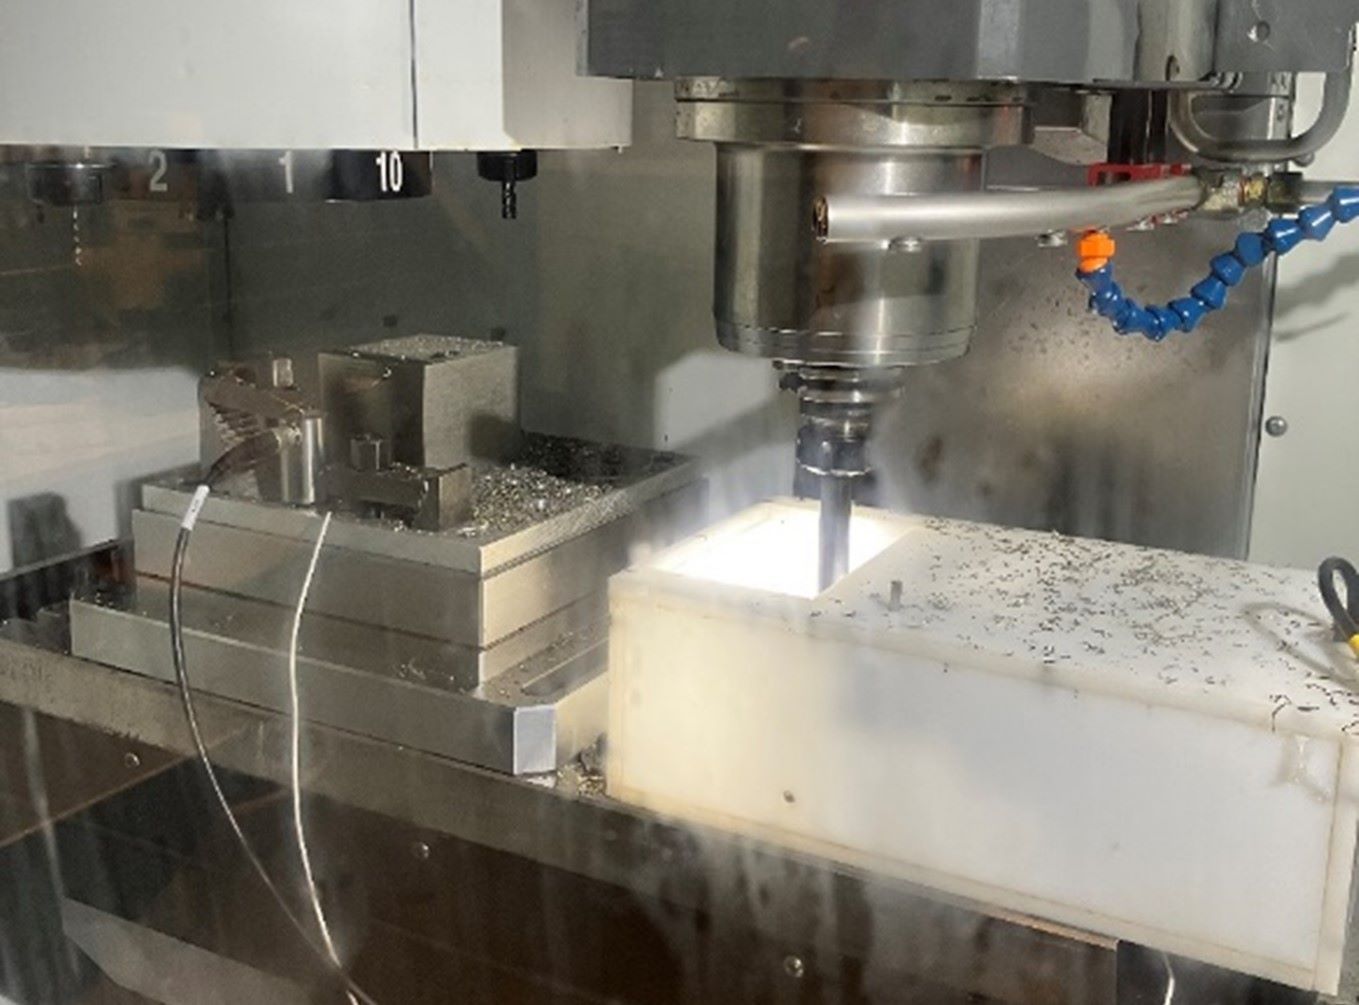
Setup with sensors and a camera
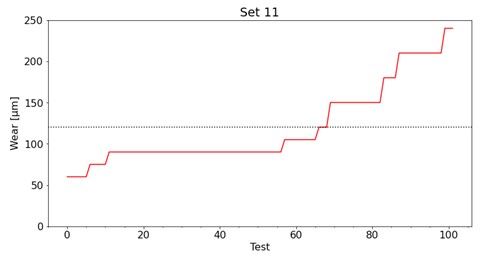
Data from industrial sensors (forces, acoustic emissions, accelerations) is used during machining to determine whether the wear has exceeded the limit value. This limit value is set as the tipping point that occurs during the typical course of wear, after which the wear quickly increases to an unacceptable and critical degree. The tool must then be changed to avoid, for example, breakage and machine downtime.
A simple industrial camera was also built in. By determining the position of the milling spindle (via MQTT communication), the measuring equipment could automatically detect when data had to be collected and a photo taken. This greatly simplified and automated data capture, making it possible to generate large numbers of measurement points which, in turn, allowed more accurate AI algorithms to be developed. Data was collected for different cutting plates, under different conditions and for two different materials (standard steel and stainless steel). This data was combined to create an algorithm that was as widely applicable as possible.
The photos were subsequently assessed by domain experts, whose machining knowledge allowed them to determine how much wear the photos showed at any time. This input was used to create a separate AI algorithm via image processing algorithms.
Direct vs. indirect method
The advantage of the direct method (photo-based) is that it gives a very accurate result. The actual state of the tool is what is visible at that moment, and this is also the method that is (often) used today - the operator assesses it with the naked eye or with the help of a magnifying glass or microscope. The disadvantage of doing this via photos is that it cannot be done during the milling process itself as it requires the spindle to be stopped for at least a few seconds.
On the other hand, the indirect method - searching for connections between sensor values and wear - can be done in real-time during milling. If you know this relationship well enough, the current state of wear can be estimated at any time. It is, however, a much less accurate method as milling is a very complex process with an interplay of many phenomena and influences, so there is not always a clear relationship.
The best of both worlds
This project therefore looked into how these approaches could be combined. The sensor method led to a classification: above or below the limit value. This gives an estimate with 50 percent false positives - excessive wear was almost never missed - but if the algorithm indicated that the wear was above the limit value, this was a false alarm half of the time.
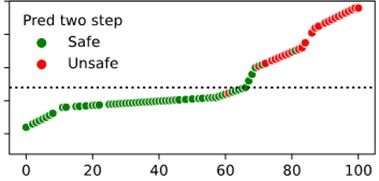
By only taking a photo (as the gold-standard assessment) when the sensor method estimated that the wear was over the limit, the accuracy of this cascade model could be increased.
The few measuring points that were labelled incorrectly (in the figure below these are the red ones below the limit or the green ones above the limit) were near the limit values. This led to accuracies above 95 percent.
Sirris is looking at the options to expand this research, both on an individual basis and collectively. The broader prediction of machining process behaviour (parameters, vibrations, energy consumption, quality) in addition to the prediction of tool wear is a logical next step.
Would you like to know more about this topic? Then please feel free to contact us!


